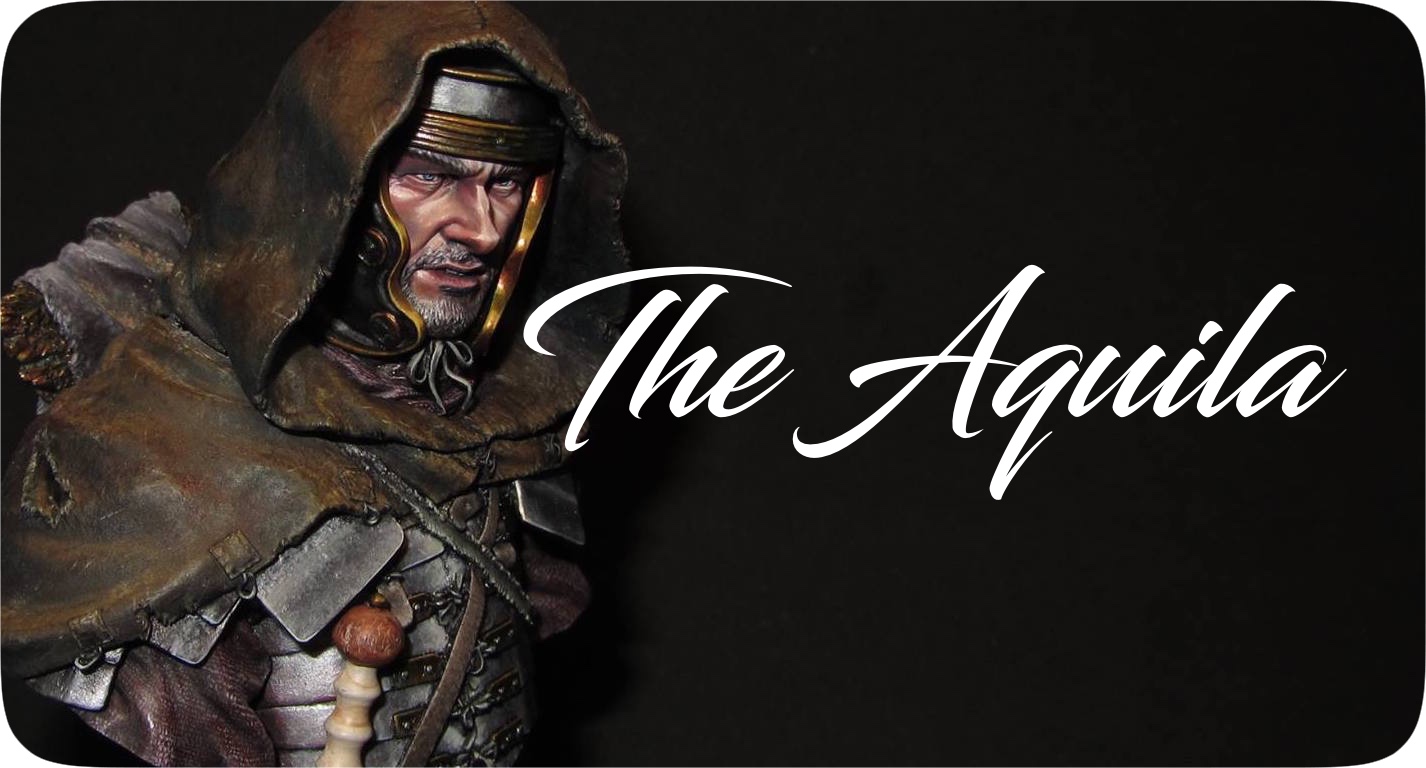
For me, the most important thing about this project was not to lose the objective to paint as close to reality as possible. So i used pics of materials, faces, etc.
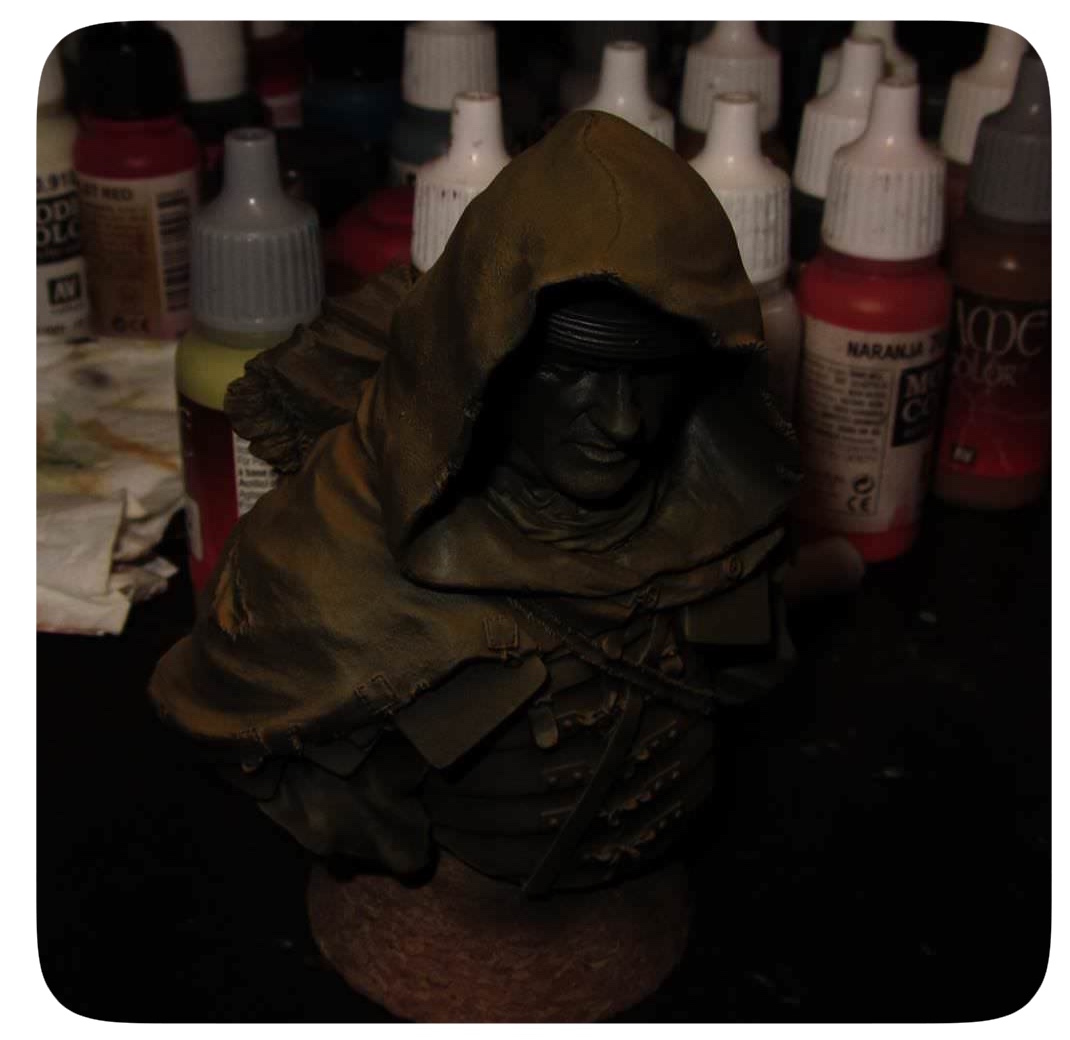
First, I painted the leather airbrusing directly on the layer of black primer. With brown leather of Vallejo. The credit goes to the sculptor. Modeling quality is so high that the results are incredible with only one airbrush stroke.
From the beginning I took as a reference Roman´s Aquila. It has a fantastic step here. He variously marks the leather then unify and give it an aged appearance.
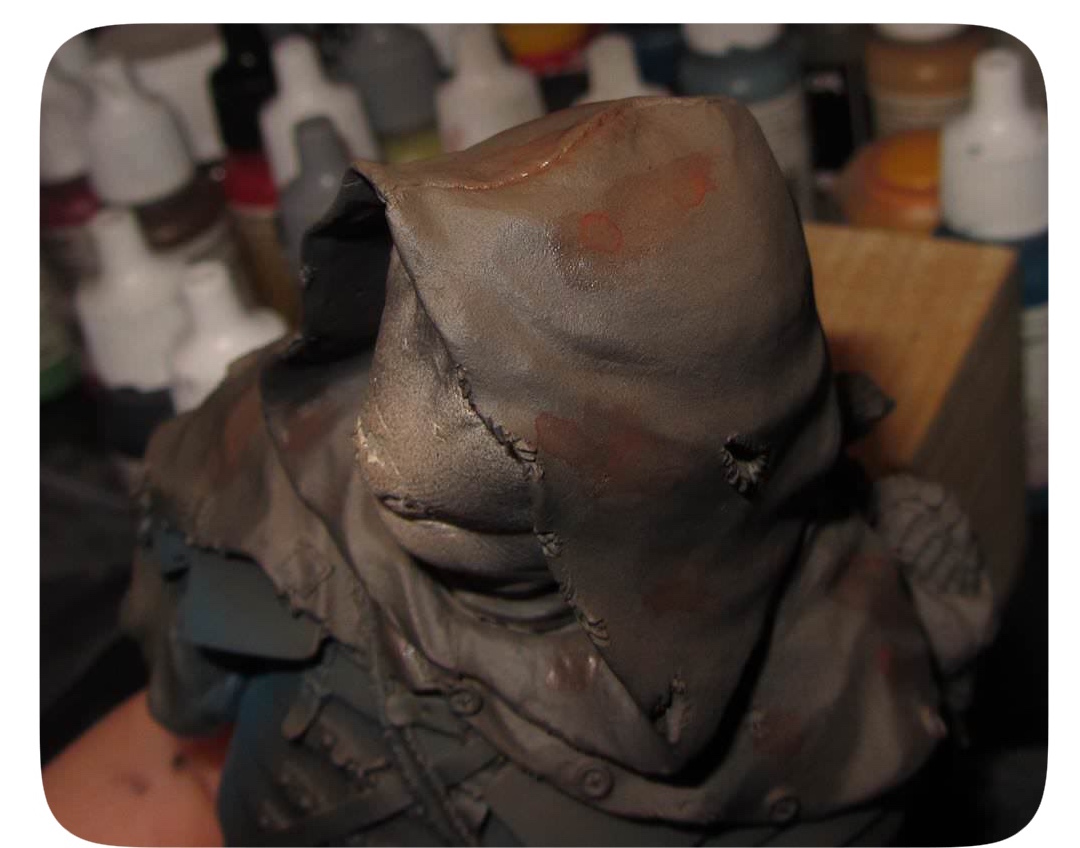
Here i stain without fear (then I regret being so wise guy), with scratches on light and dark colors, trying to simulate real leather cuts.
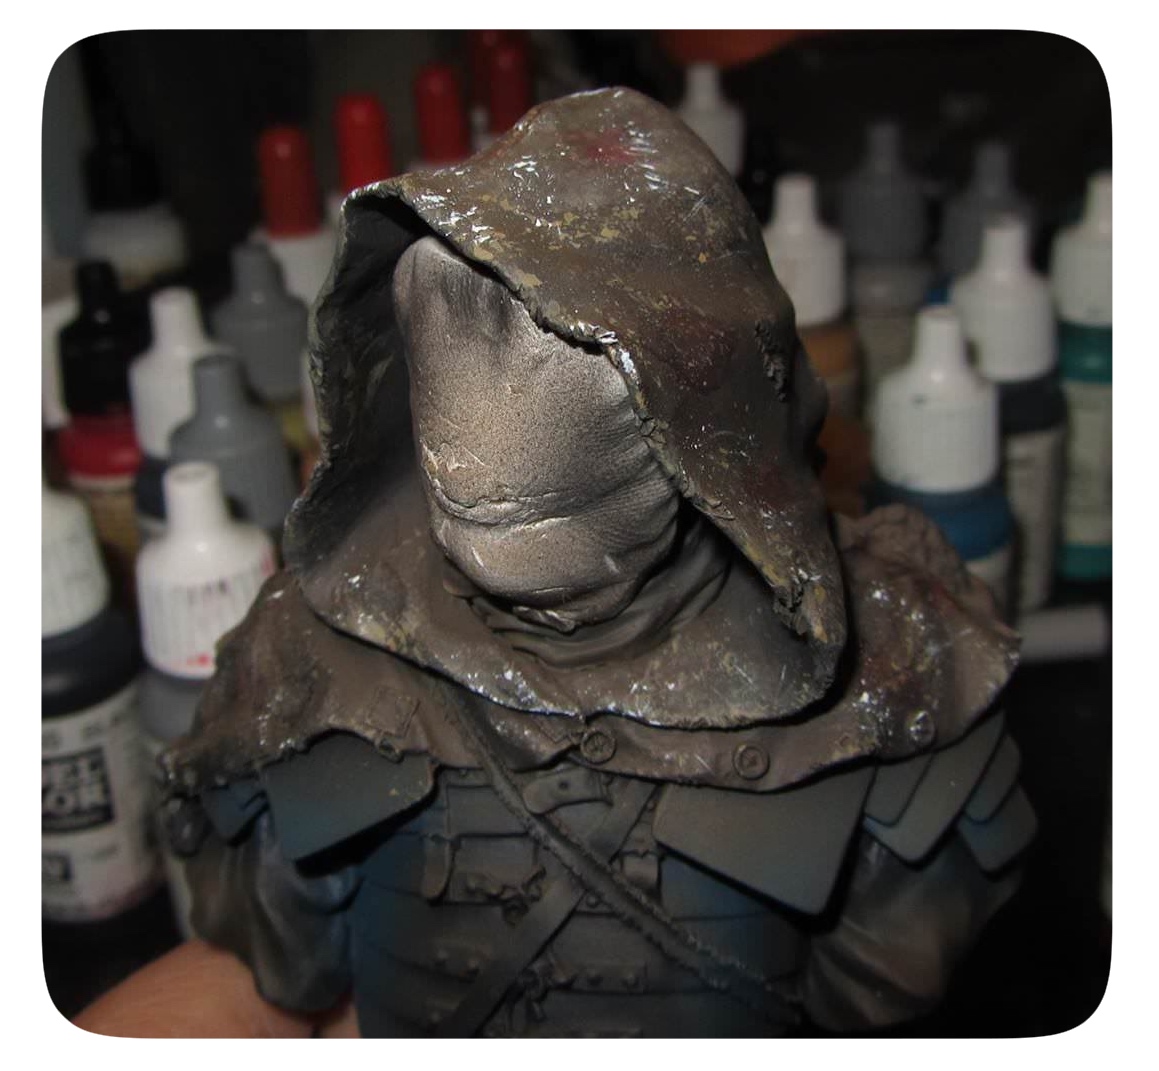
Here I unify with brown leather from Vallejo with some red and I returned to entertain with him getting dirty. The idea is to try to be satisfied and if the result is bad, it is always possible to fix and go back. It is the only way to learn.
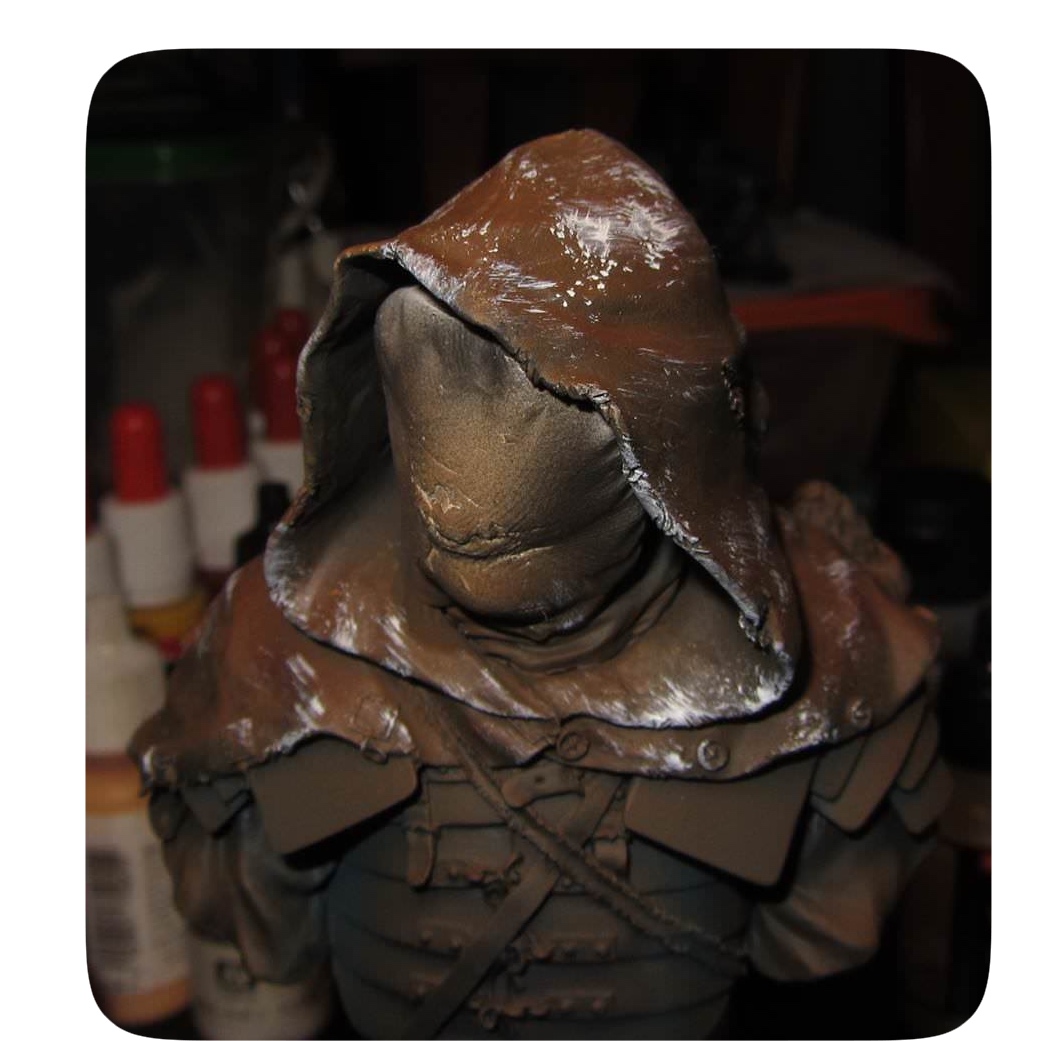
Now I unify with halftone and then give shadows with a diluted black glaze. At this point I play a lot with brown ink and give soft brush strokes to unify but also trying to give more intense on some areas than others.
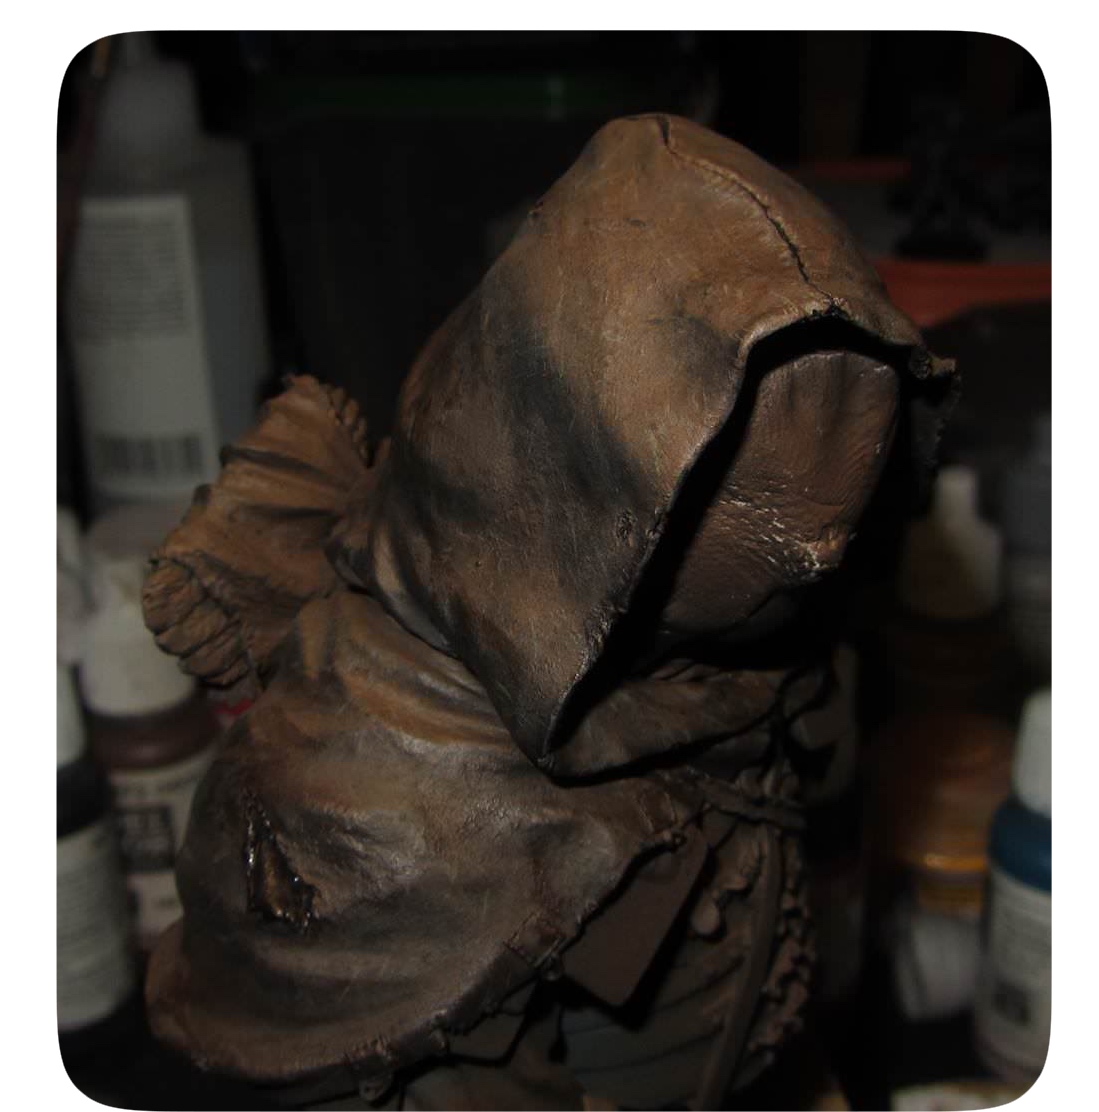
At this point, the leather asked me for some green in shadows and honestly do not know how to explain why. I just wanted to see something green in that area. After giving that soft watery, i notice that it gave a lot of wealth and combined well with the touch of red leather. (complementary colors).
I remember it didn´t was green, but turquoise. I have a predilection for that color.
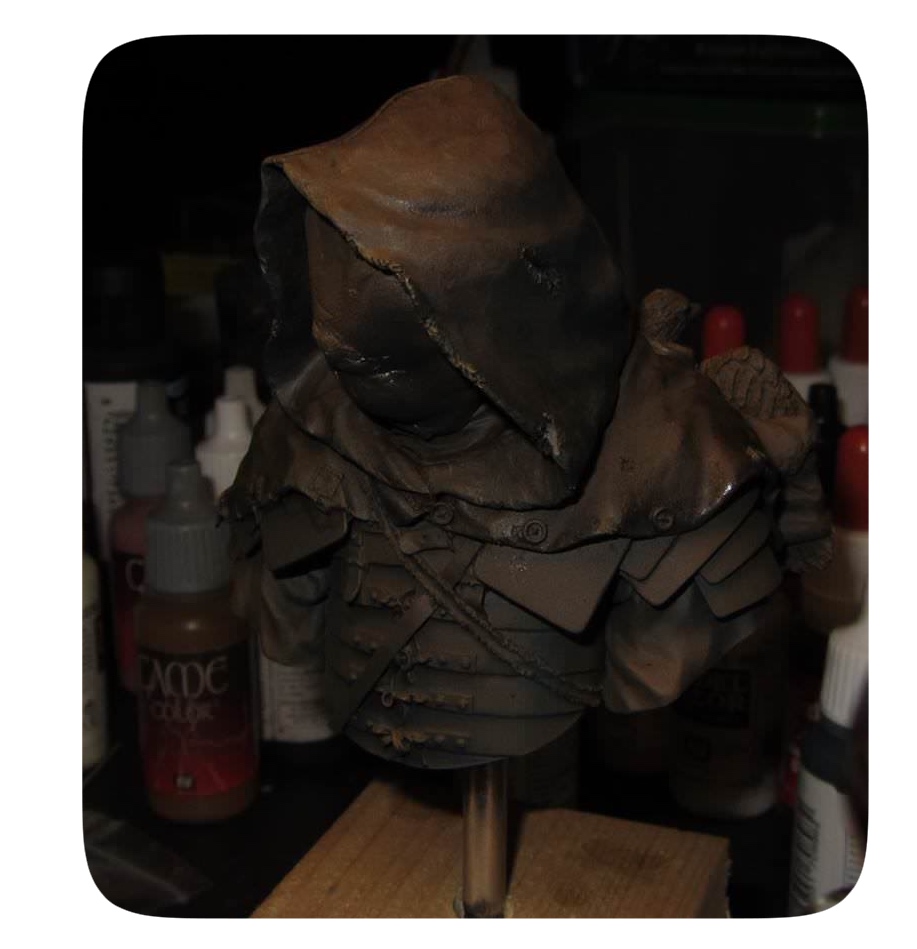
Hardly to see, but i have to say that in person is much more green and gives an interesting view.
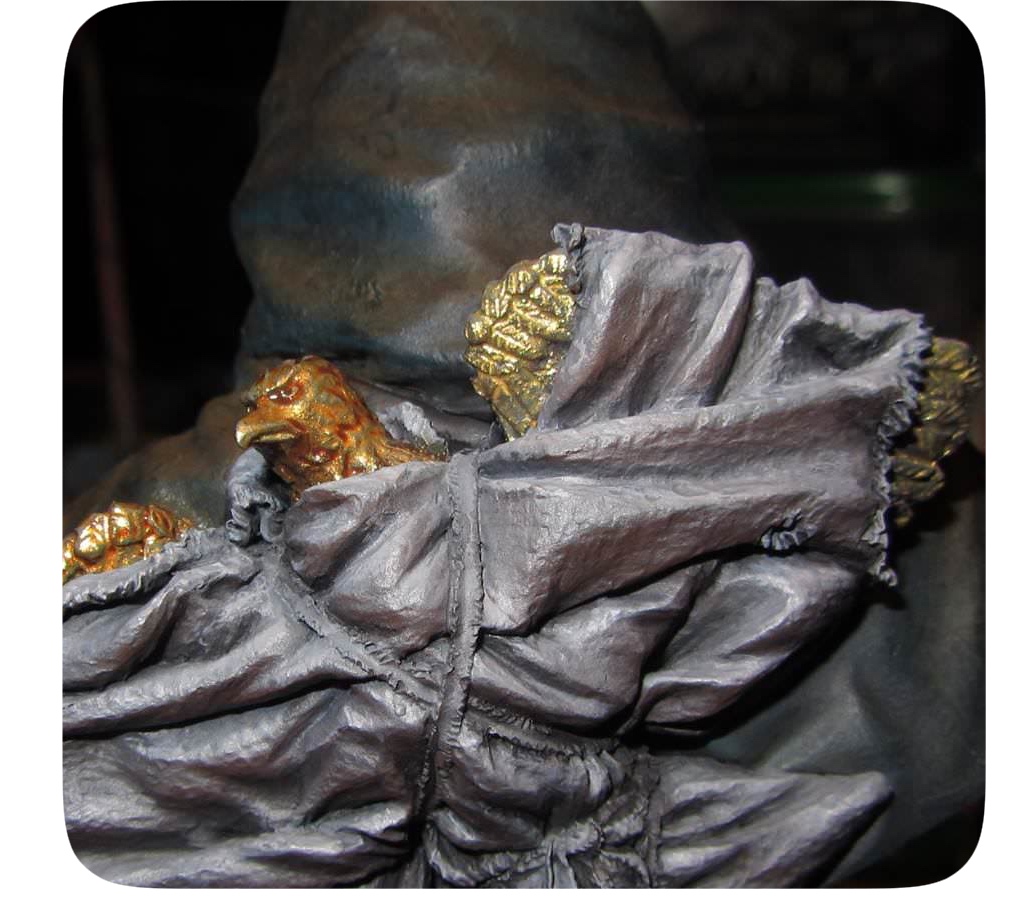
We can see that the leather is gradually gaining ages, as would happen in the life of the roman.
To create the spots of next picture i soaked the brush in brown ink (also red and black in some areas) and i dropped them on different ways. Before it got completely dry i took out the color of the center of the spot with a large brush creating a circle of glossy paint. You can take a dryer to go faster.
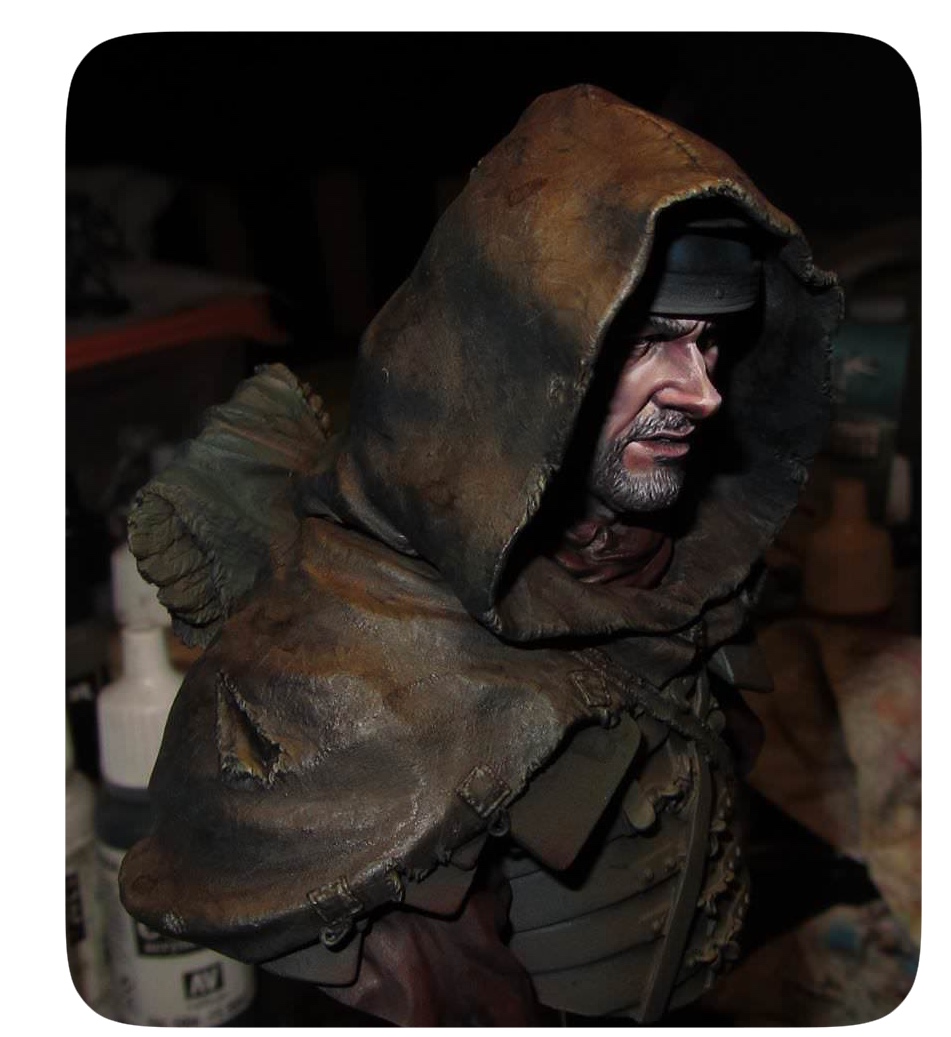
One day i cooked a stew of beans, I decided to put him a few spots and see how it goes. Stains on stains!
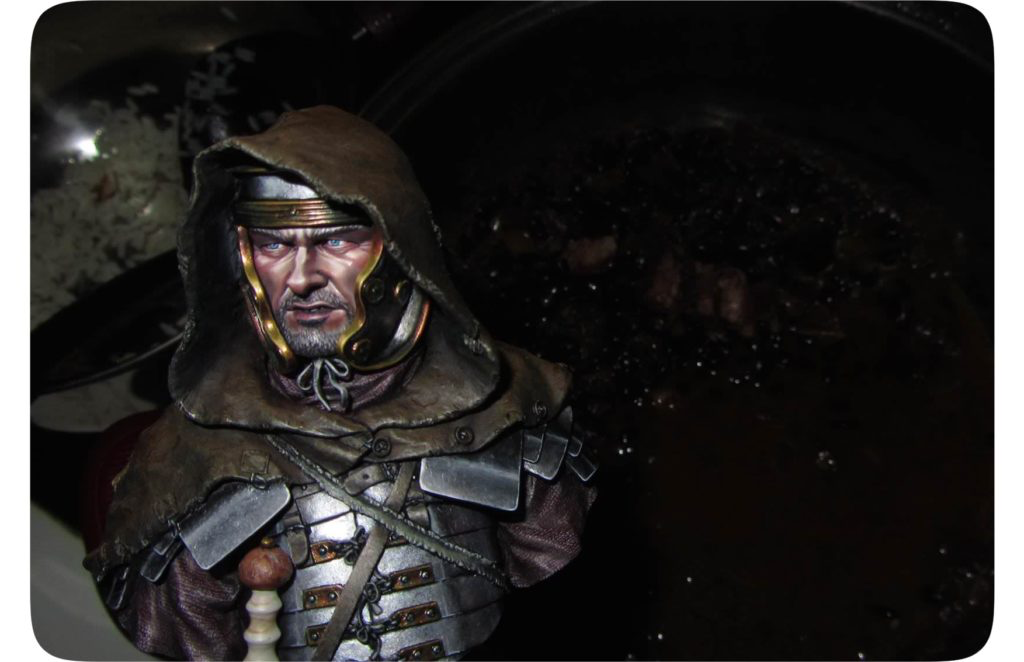
Well, here comes the monumental failure for being so wise guy and try things that were out of my reach. Once you see this from outside you don´t know where is the limit if these things happen, so it ended up benefiting me. But i don´t wish to anyone the bad moments seeing that horrible appearance.
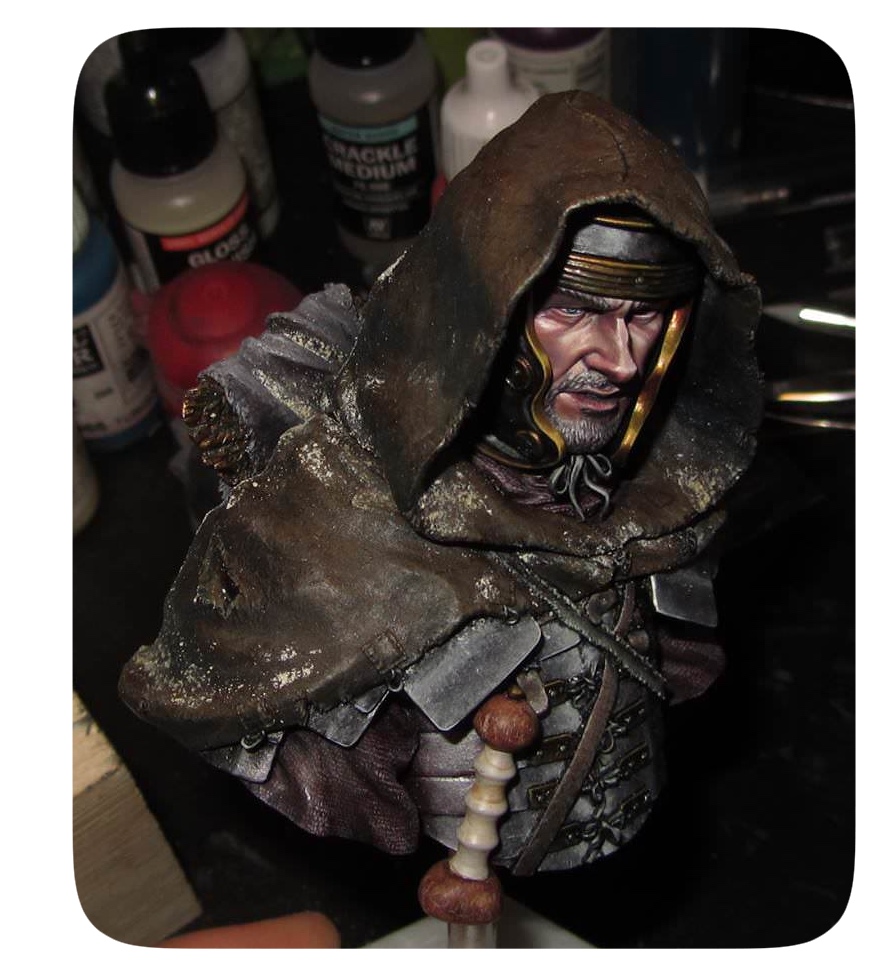
The sand was pretty bad and i covered much of the previous work so i tried to eliminate as i could and unify.
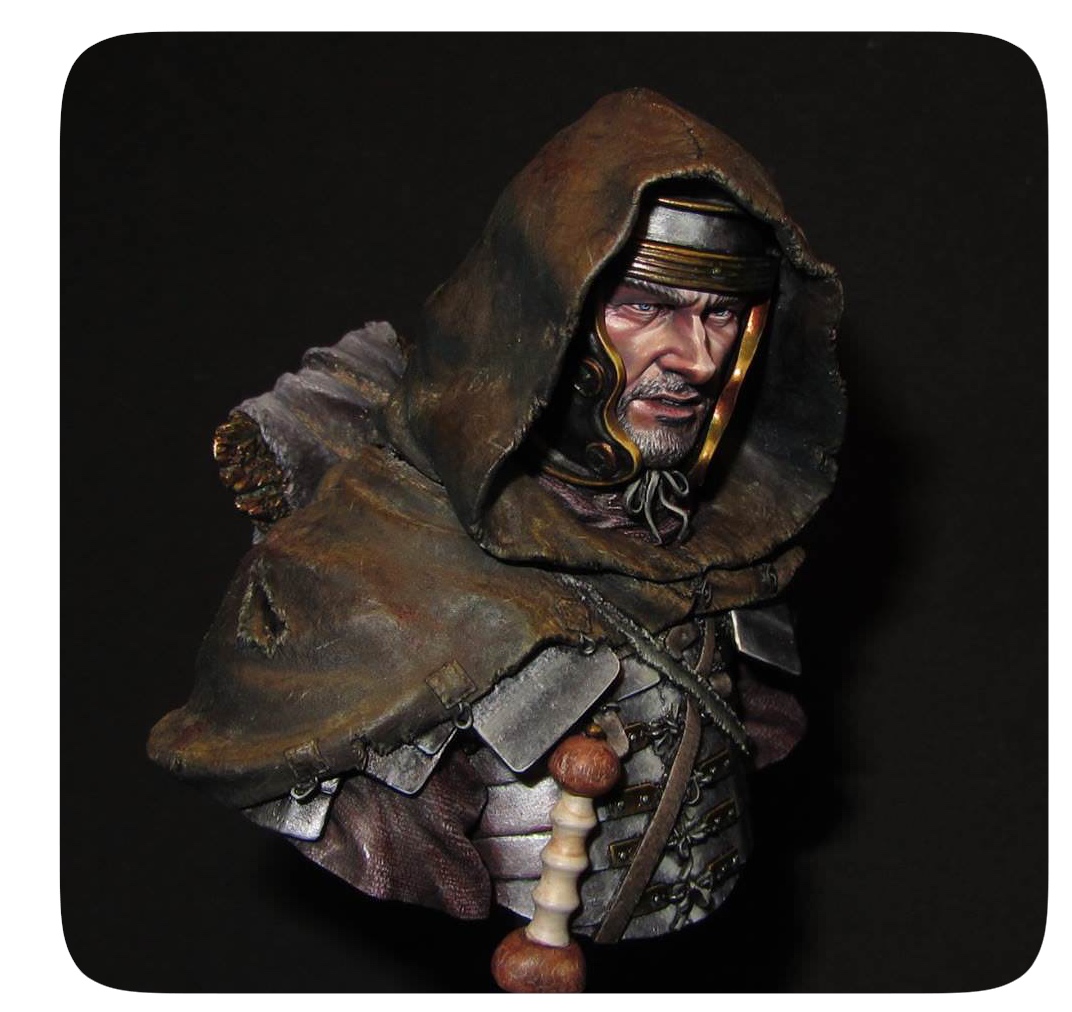
Done! .. or so I thought. I do not remember how it was, but I saw an object of cracked leather and jumped to copy this incredible effect.
After the disappointment with the sand I felt not so courageous but what the hell! nothing ventured nothing gained!
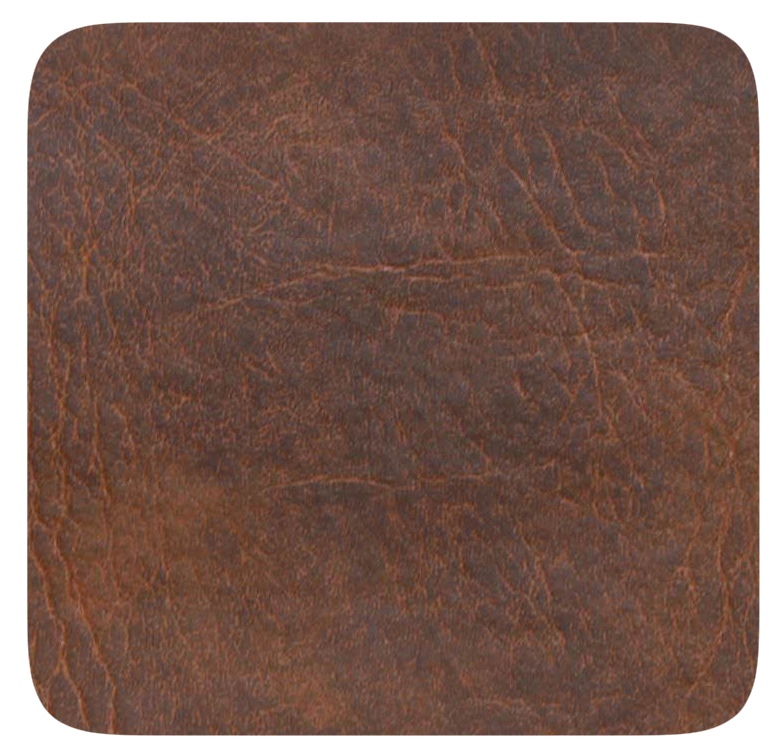
With a sand color with average dissolution i started painting cracks patiently. The way i work this is by raising my brush lightly to paint only with the tip and shaking in a controlled manner to create the effect. Always copying the photos to see in which direction goes the cracks and respecting the coherence of the folds of the sculpture.
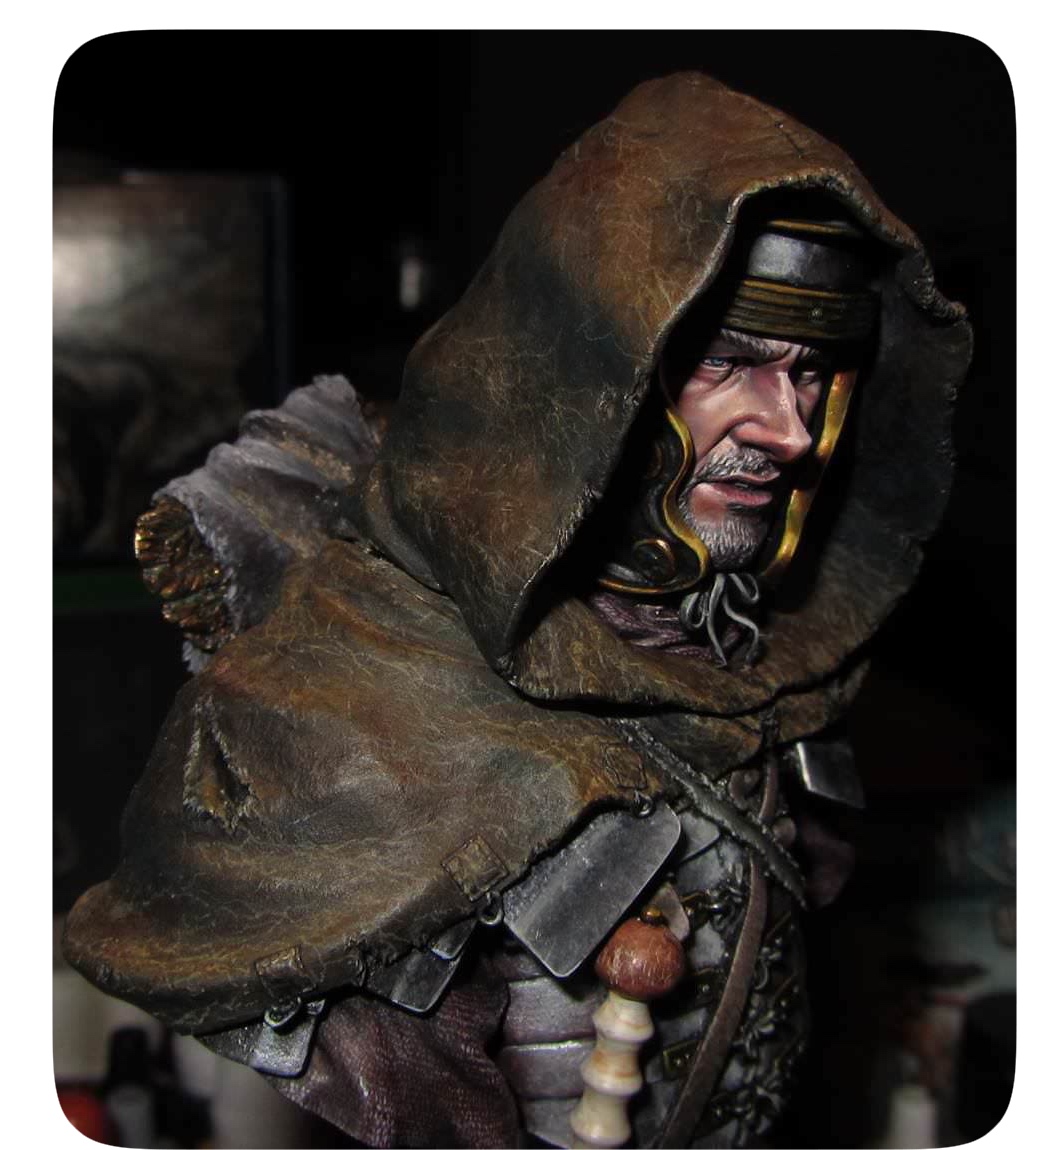
The final step was to unify everything with diluted brown ink.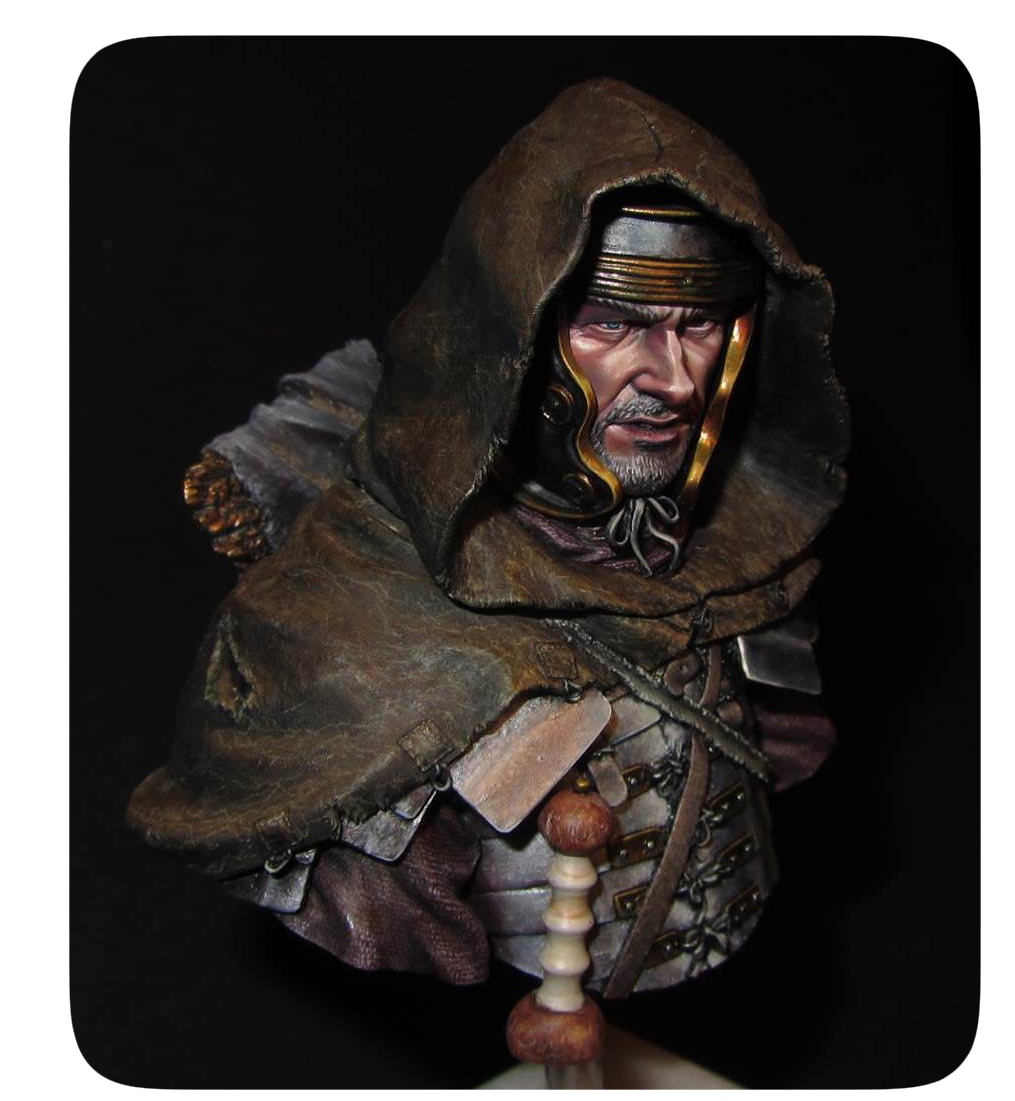
The final step was to unify everything with diluted brown ink.
For me it was a pleasure to paint this bust with so much trial and error. It helped me to learn new methods of creating effects (COPY COPY COPY !!) and honestly never thought it was going to be so popular. Thanks people!
I hope this will serve for something and ask me any questions you have.
Leave a Reply