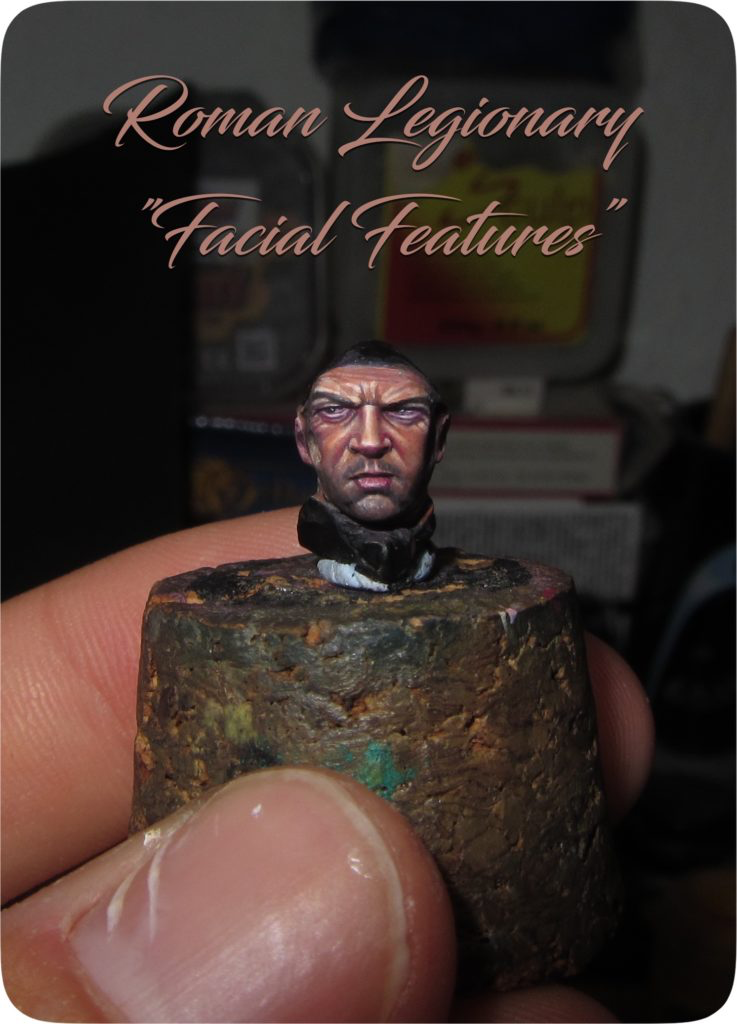
I wanted to paint a face so I began with this one of Pegaso Models wonderfully sculpted by Yury Serebriakov.
Lately I´m painting skins with an unique color palette. The only thing it varies is the proportion of them. I use Base skin, Brown Pink, Red Leather, Ivory, Black and Green. Without listing colors like Red or Purple for minor areas.
With this face I tested a lot of combinations, transparencies, etc, always looking for a new and better way to paint.
Let´s start!
http://www.youtube.com/watch?v=VtsTsiJddm8
This time I sketched directly with pure white over black priming. When you paint over white colors are more intense.
I enlarge the head for you to see where it goes each brush stroke. Obviously the figure would never look so close, but I love the zoom in :).
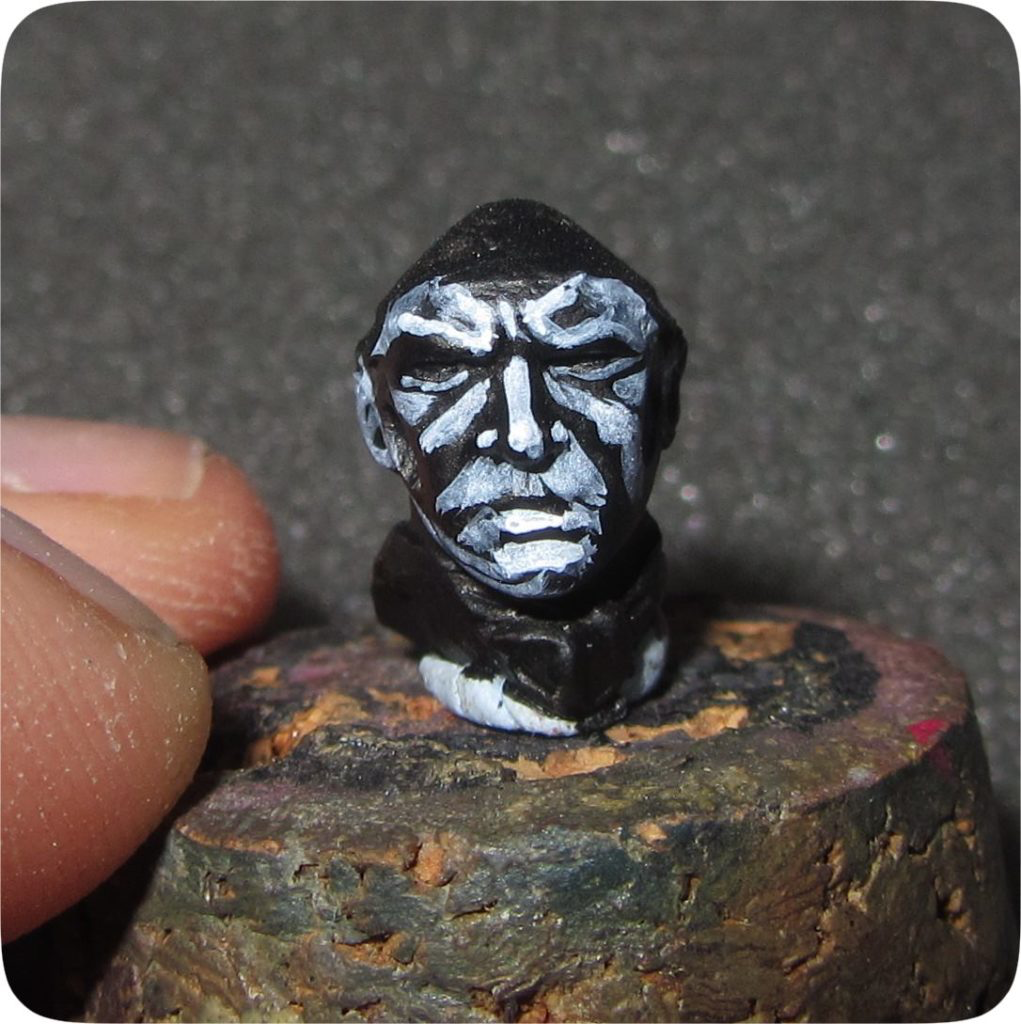
With Base skin I give a watered glaze over and look how White still appears.

Like I said before, this head served me to test new things and see results. Normally, I will began now with normal blending with lights and shadows but I took a chance with this yellowish color. What a clouny looking..
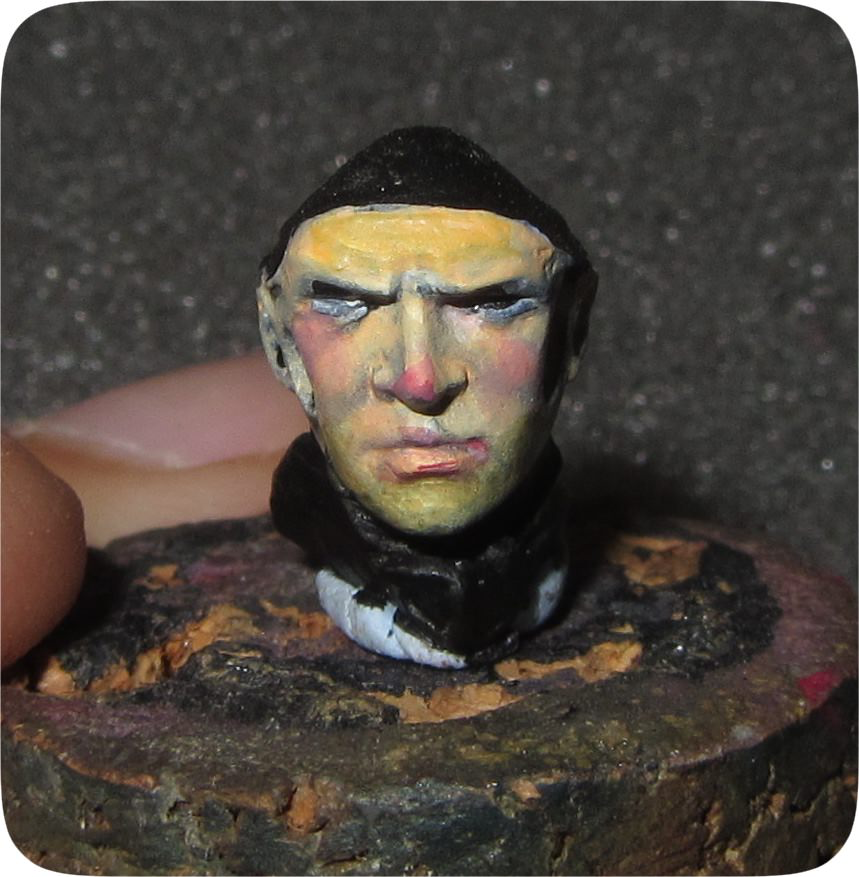
Still giving tones with the objective they will still appear beneath the transparency of further natural skin colors. Don´t be scared my friend.
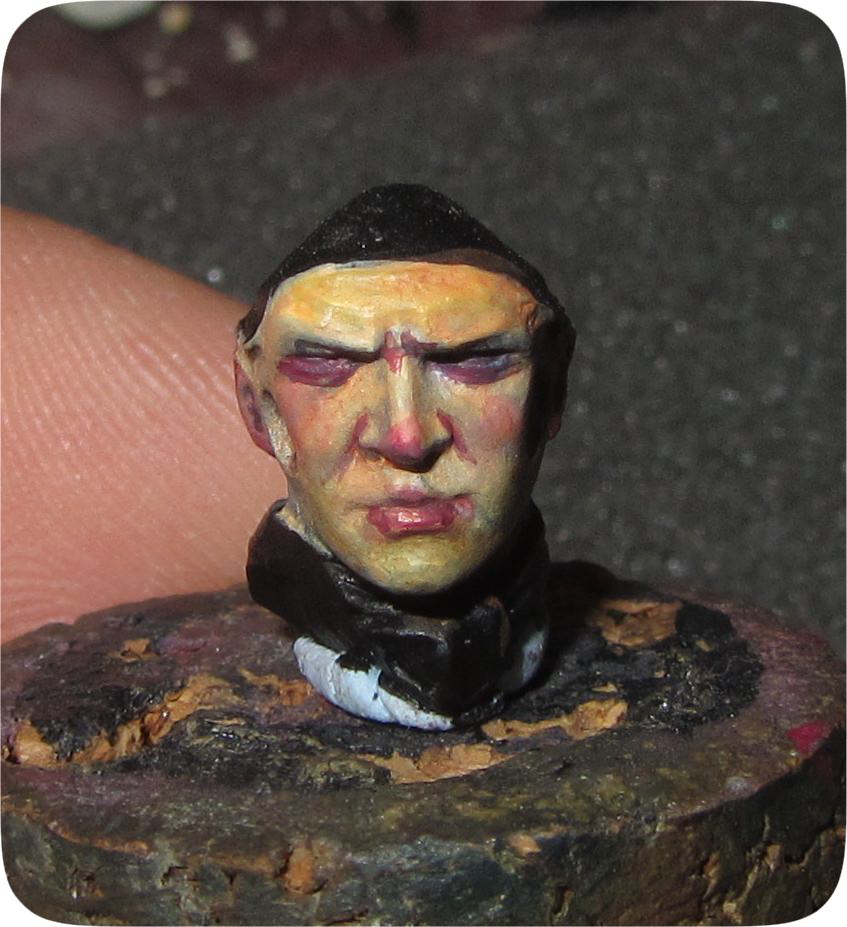
I maximice lights and shadows with White and Black. Always sketching, there will be time to unify. What an experiment..

With Brown Pink I glaze over looking forward to get away that yellow tone. Now we are talking!. You can notice the transparencies of last steps. We began sculpting with paint the features the figure don’t has, or are too soft.
I add the typical half moon lines between the eyes and nose with a purple tone. Shadows on the corners of the mouth and beneath lips, I lift up the chin. I make the viewer look at whatever I want to show.
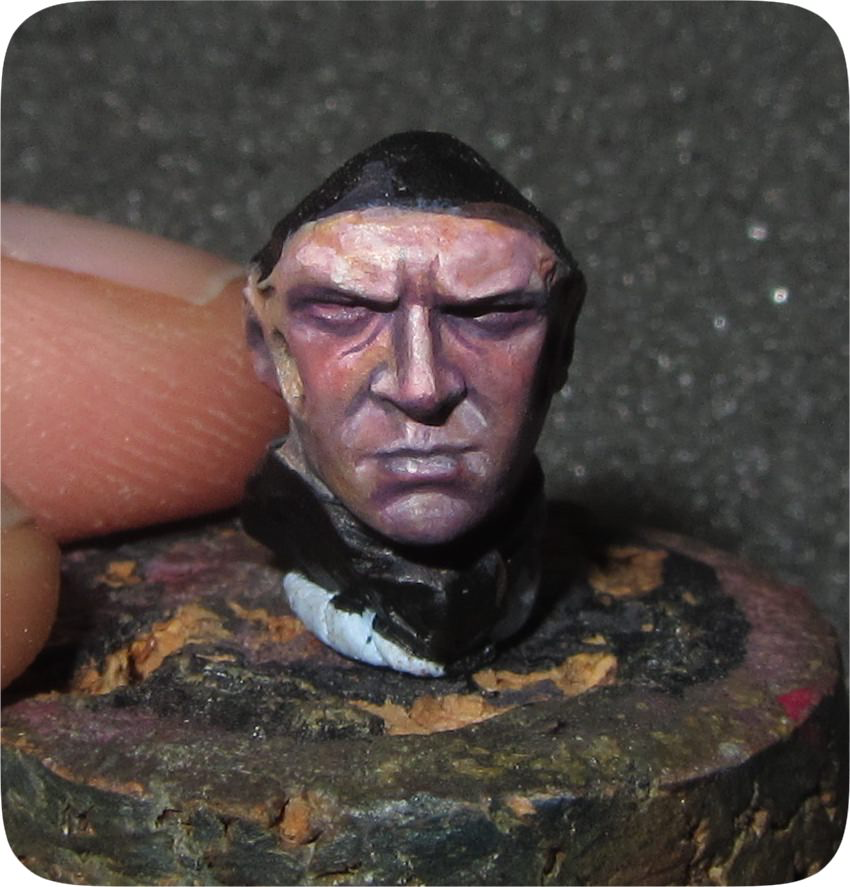
With Ivory, I maximice lights over cheeks, corners of the mouth, nose, upper part of the chin, eyebrows, etc. Copying a real life picture. Again, I use the paint a bit thick cause I will unify later with watered glazes. I’m used to paint like this and I like it.
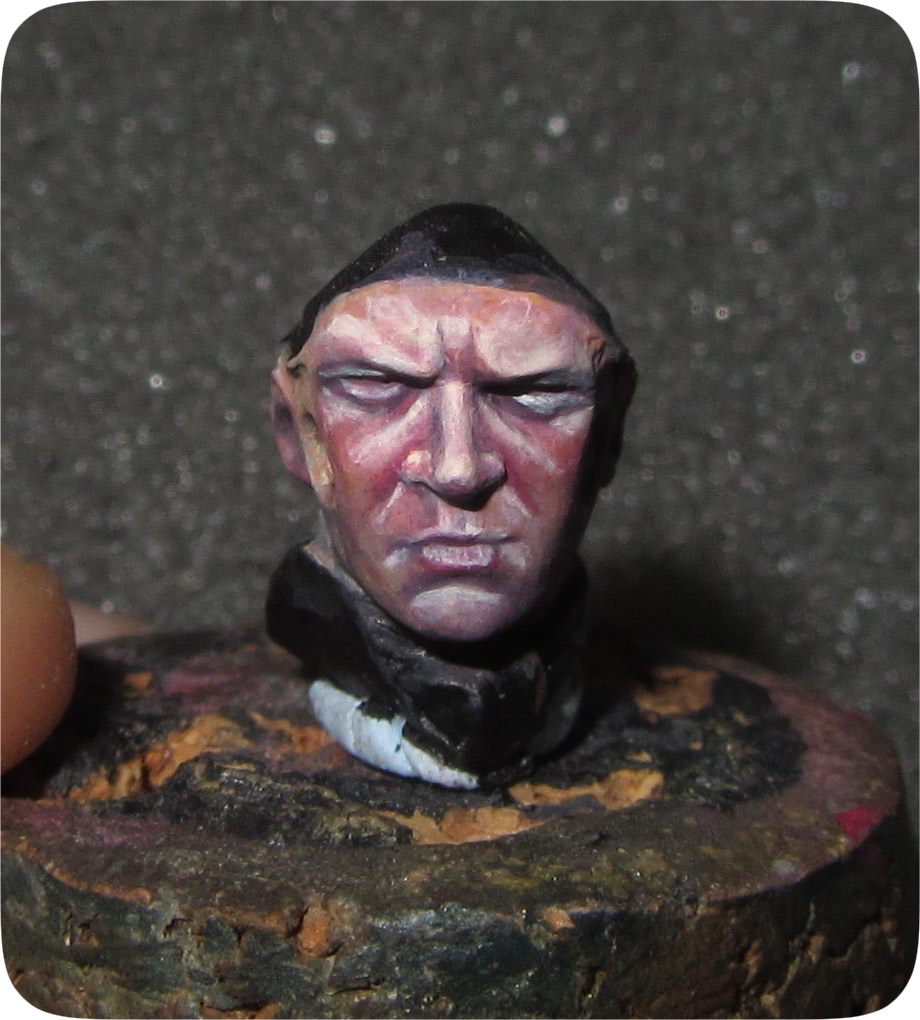
Now is the moment to unify. I glaze over with Red Leather and it’s getting a normal skin tone. This color rocks.
For the beard I use grey and green glazes.
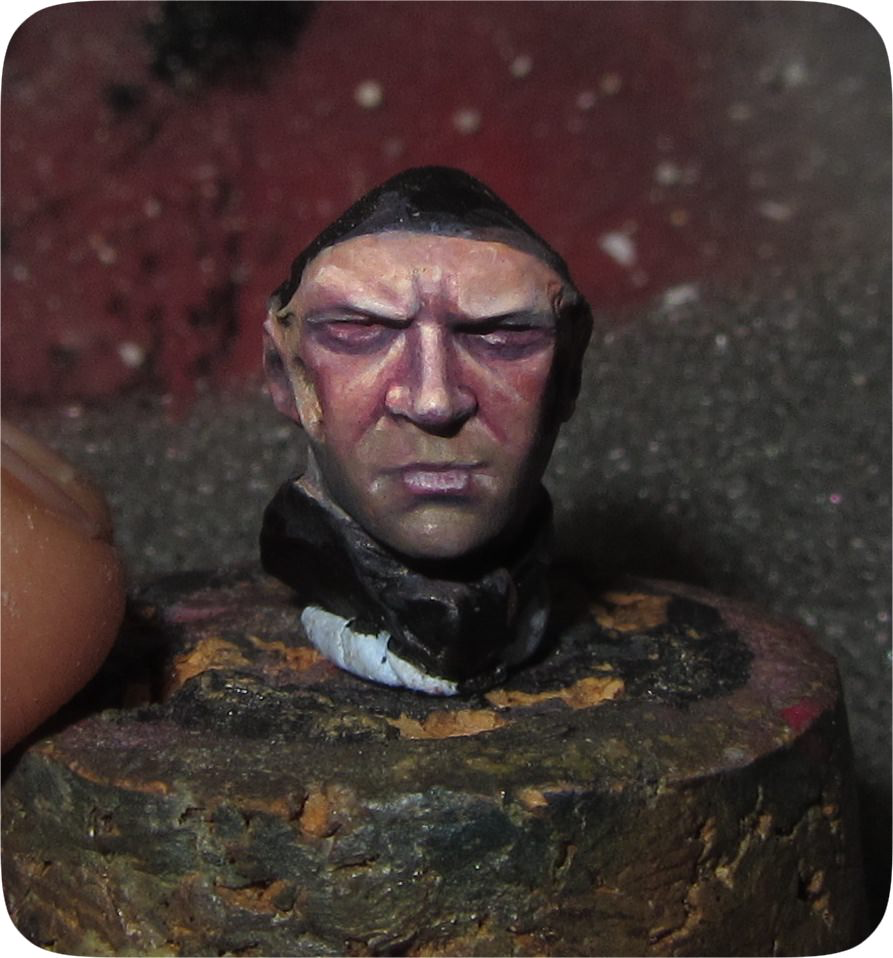
I’ve eaten a lot of lights when I unified so I push out them again with normal glazes. Looking at my real face pic I rectify the beard area. Notice that in common faces the beard doesn’t reaches the corners of the mouth or lips, but there´s a normal color skin between this and the mustache.
Also I paint some wrinkles around the eyes. I point the beard area and around the mouth. I mark the upper part of the eyebrows and the forehead and then glaze with more Red Leather. Did I told you I love this color?
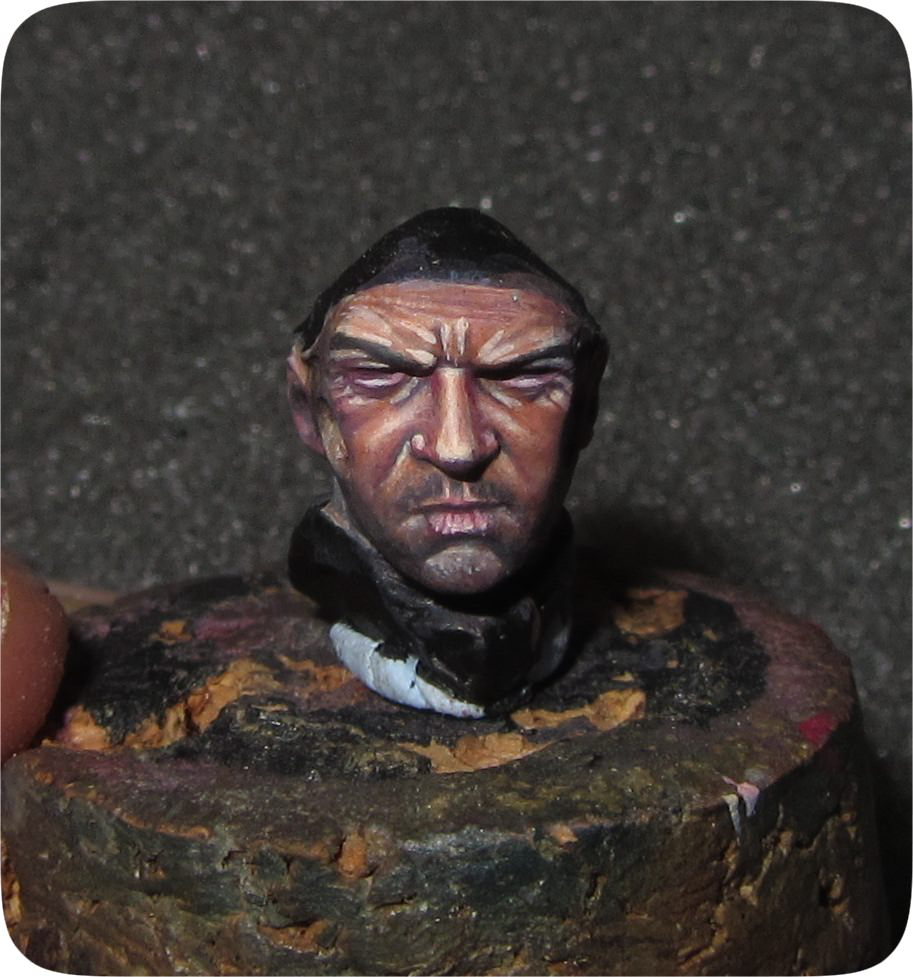
It’s still rough, so I get again the Red Leather and unify. Creating small lines, frame well the features of the nostrils, gaps, eyelids and other wrinkles. This is a process that many of us skip when we believe the figure is ready, but if you focus on these small details the figure will gain a lot.
I sculpt with paint. Something important, look at the lower eyelids. I draw a clearer line only in the most superficial part, letting the inside of the eyelid darker. This creates a ball effect that adds depth to the eye. Also important are the red flesh tones. On the inside top of the nose, fins and tip of the nose, the corners of the mouth and lips.
The key is this.
When you think you have the finished figure look for small micro details you can provide to improve it.
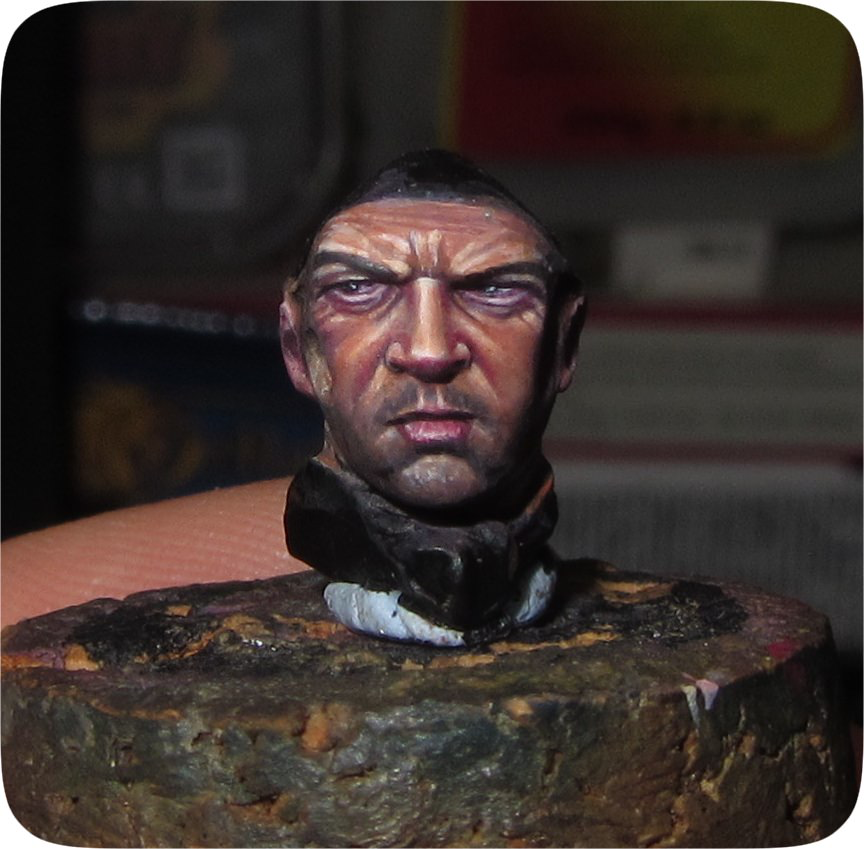
I’m gonna write a series of articles based on the process of this fantastic figure. Next will be the skin, after the armor and fabrics, etc.

Aythami Alonso
Leave a Reply